
In today’s data-driven world, organizations face the ever-increasing challenge of integrating and transforming data from various sources, including APIs, to gain valuable insights. Airbyte, an open-source data integration platform, has emerged as a powerful tool to address this challenge.
In this blog, we will explore how to use Airbyte to connect an API, specifically the “GetBestMatches” operation from our DOTS Address Validation – US 3 API, to a data transformer and generate meaningful output. We’ll walk through the process step by step, highlighting the key components and best practices.
Setting up Airbyte
Before diving into the data transformation process, you must first install and configure Airbyte. You can choose to deploy it locally or use its cloud-hosted version. To begin, visit the Airbyte website and follow their installation instructions. Once Airbyte is up and running, you can access its web-based dashboard to manage your data integration workflows.
To setup your ETL process, you first need to define the data source for your process. Airbyte offers many different options, but the simplest ones would be to use either the file source option or the Google Sheets option.
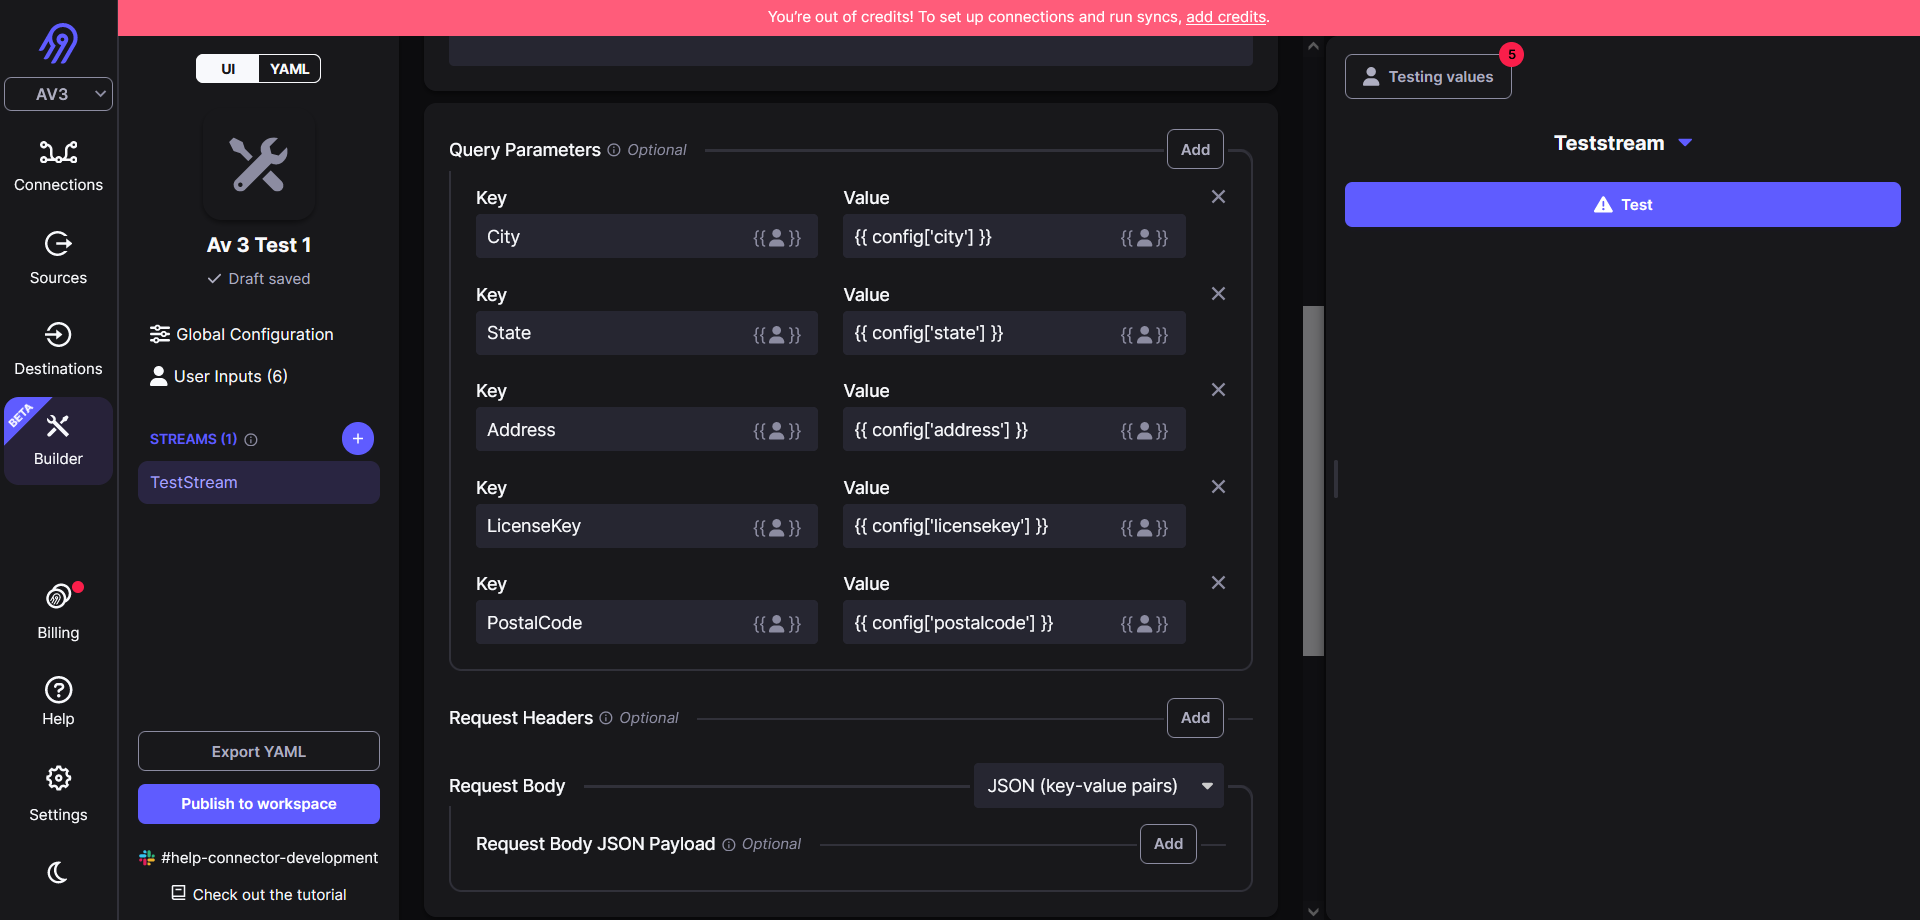
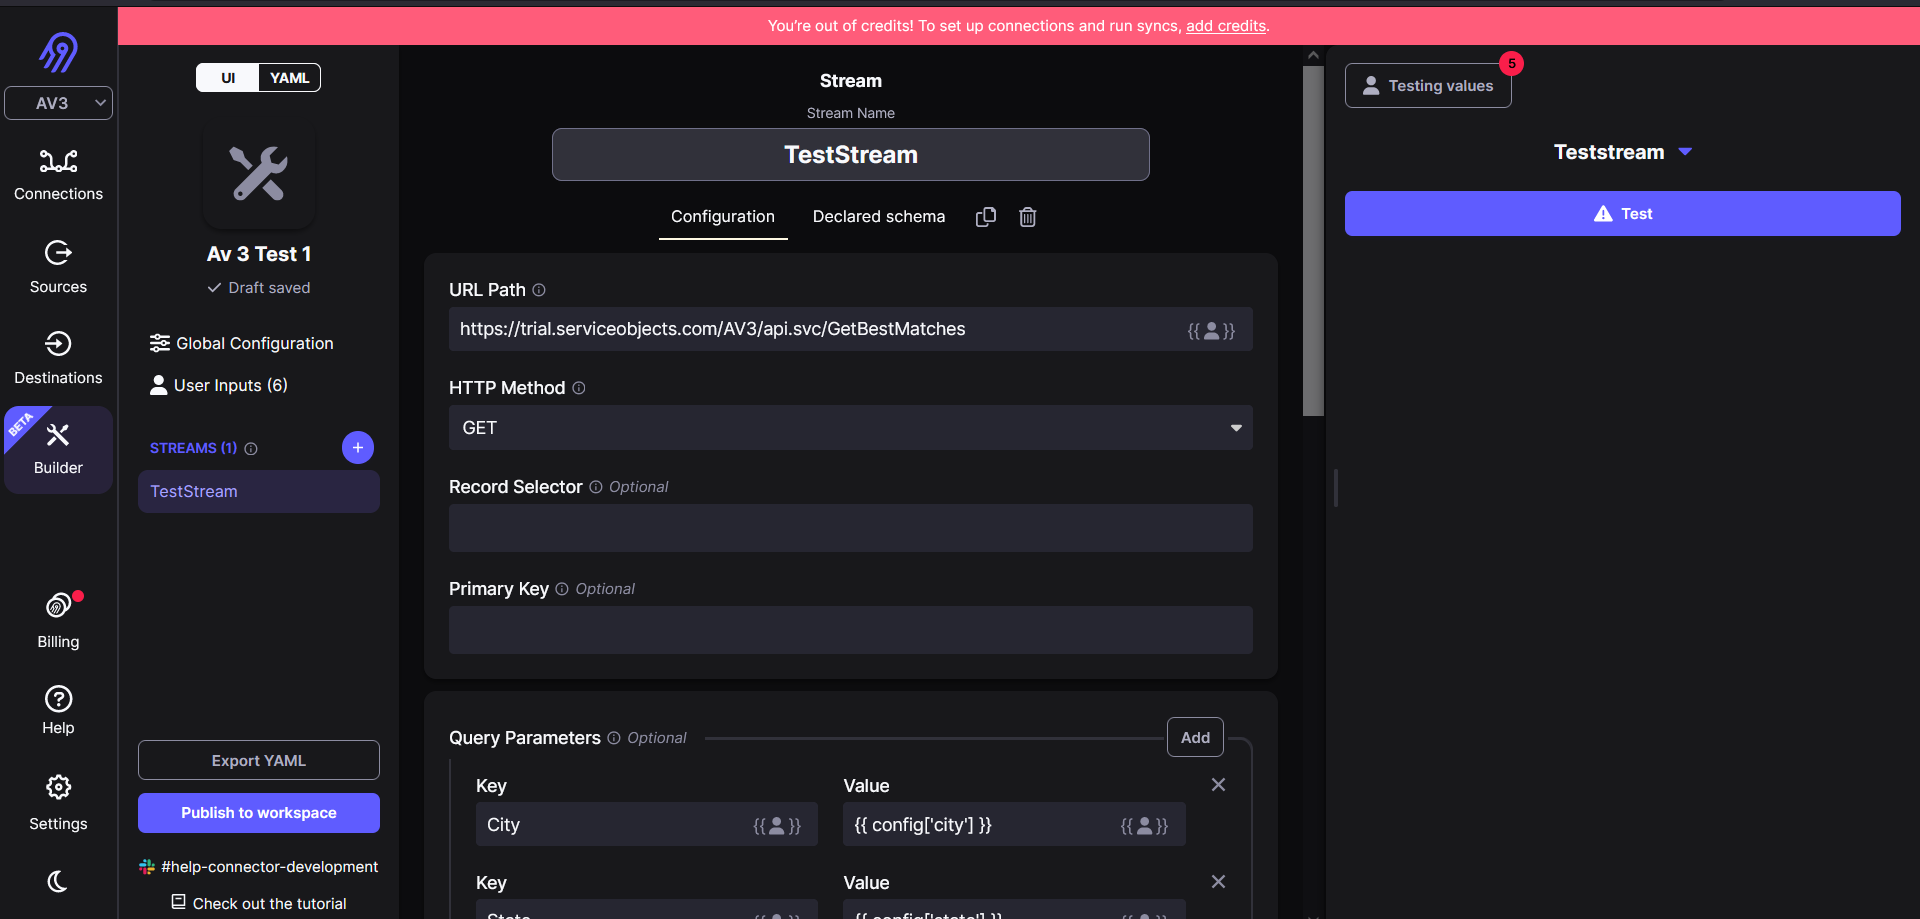
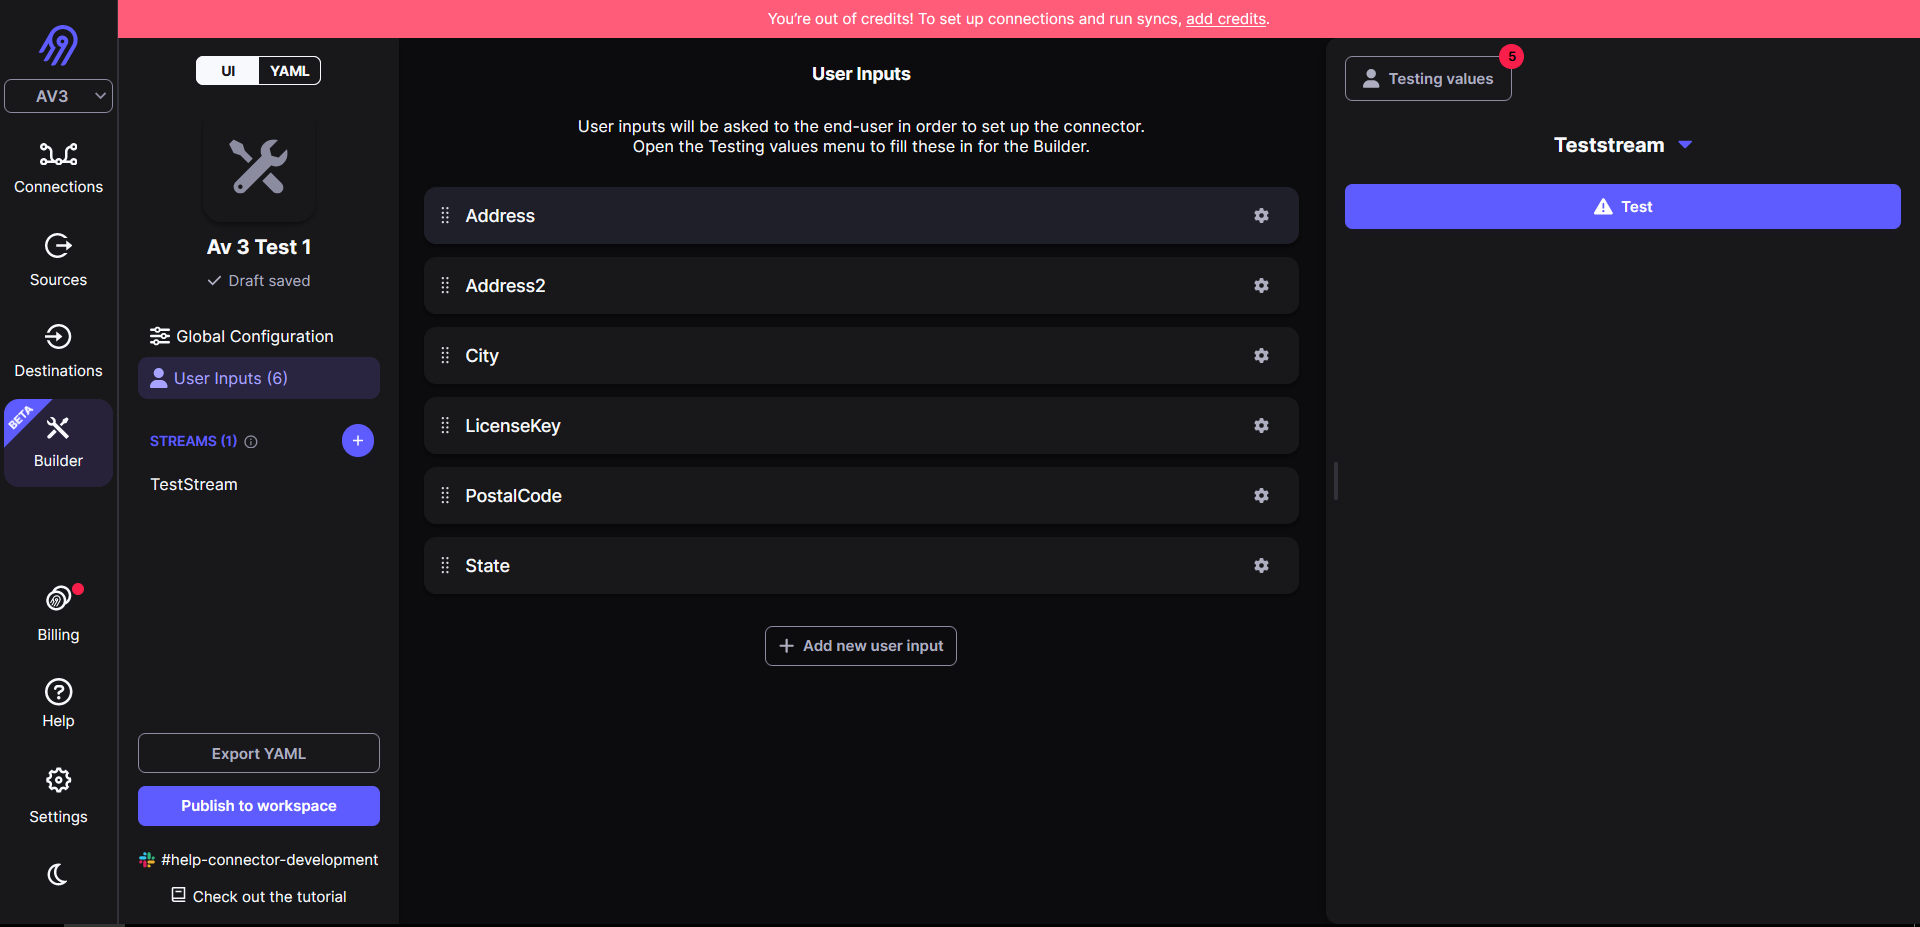
The first step in connecting an API to a data transformer in Airbyte is defining the transformer API. In this case, we are working with the Address Validation – US 3 API. Airbyte supports API integration through its HTTP source connector. To set up the connector, simply specify the API endpoint for Address Validation – US 3 with the “GetBestMatches” operation and be sure to include your license key as one of the required parameters. (Need a trial key?)
After setting up the data source and transformation API, you need to specify where the transformed data should be sent. Airbyte offers various destination connectors, such as databases, data warehouses, cloud storage and more. Select the appropriate destination connector based on your requirements and configure it accordingly. For instance, if you want to store the transformed data in a PostgreSQL database, choose the “PostgreSQL” destination connector and provide the database connection details.
To orchestrate the entire data integration process, create a sync configuration in Airbyte. This configuration specifies the API source connector, transformation connector and destination connector that you want to use. Additionally, you can set up a schedule for data synchronization to ensure that your data is continuously updated.
Testing and monitoring your data integration
Before executing the data integration workflow, it is crucial to test it thoroughly. You can do this by running a manual sync from the Airbyte dashboard. This will allow you to validate that the data is being retrieved from the API, transformed according to your API configuration, and successfully loaded into the chosen destination.
After the initial setup, it is important to monitor your data integration workflow regularly. Airbyte provides monitoring and logging capabilities to help you track the status of your sync configurations and detect any issues. Additionally, you should schedule routine maintenance tasks to ensure the continued reliability and accuracy of your data integration process.
Conclusion
Airbyte is a powerful tool that simplifies the process of connecting an API, such as Address Validation US – 3, to a data transformer and generating meaningful output. By following the steps outlined in this blog, you can set up a seamless data integration workflow that retrieves data from the API, applies custom transformations and loads the transformed data into your chosen destination. With Airbyte’s user-friendly interface and flexibility, you can efficiently manage your data integration needs and unlock valuable insights from your API sources.
If you would like to speak with an integration expert, please feel free to contact us.